
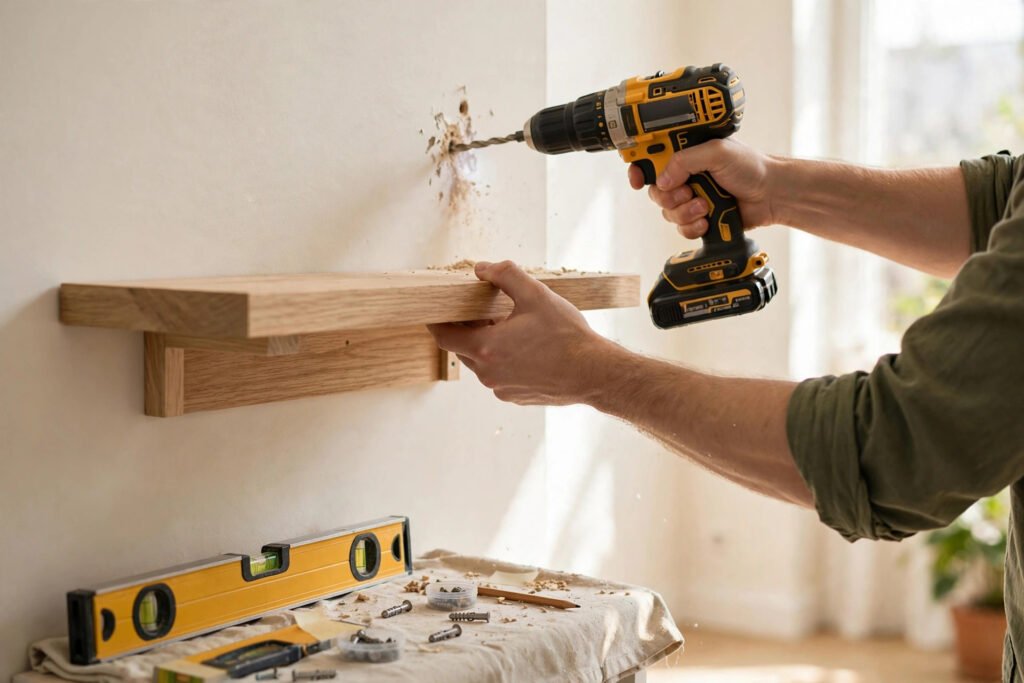
I once watched a friend hang a 60-pound set of bookshelves on four plastic drywall anchors and declare it "solid as a rock." It was, for about three weeks. Then one Tuesday morning, at 5 AM, the entire shelf ripped out of the wall, took a chunk of drywall with it, and dumped his books onto the hardwood. The noise woke the whole house. That repair job taught me more about drywall anchors than any tutorial ever could. Here's how to hang heavy shelves so they stay up — permanently.
Why Drywall Is Tricky for Heavy Loads
Drywall (gypsum board) is great for flat walls and terrible for holding weight. A 1/2-inch sheet of drywall has decent compressive strength but almost no pull-out resistance on its own. A screw driven straight into drywall can pull out under just 20–30 pounds of force. Hang a shelf loaded with books — which can easily hit 40–60 pounds — on screws alone, and physics will win eventually.
You have two legitimate options for heavy loads: hit the wall studs, or use the right anchors. Let's look at both.
Option 1: Hang Into Studs (The Gold Standard)
Wall studs are the vertical framing members behind your drywall, typically spaced 16 inches apart (measured on center) in US homes. A screw driven 1.5 inches into a solid wood stud can hold 75–100+ pounds of shear load. Two lag screws into two studs will hold virtually any shelf a homeowner would hang.
How to find studs reliably
- Start with a stud finder. A decent electronic stud finder ($20–30) works well on 1/2-inch drywall. Scan slowly and mark both edges of each stud with painter's tape, then mark the center. Cheap magnetic stud finders also work — they locate the screws or nails holding the drywall to the studs.
- Confirm with the knock test. Knock on the wall while moving sideways. A hollow sound means empty wall; a solid, flat sound means stud. It takes a little practice but it's free.
- Verify with a test hole. Drill a tiny pilot hole where you think the stud is. If the bit bites into solid wood after 1/2 inch of drywall, you're on target. If it spins freely, you missed.
- Measure from your first confirmed stud. Once you find one, measure 16 inches left or right to find the next. Studs are almost always on 16-inch centers, sometimes 24 inches in non-load-bearing walls or newer builds.
Attaching the shelf bracket to studs
- Mark your shelf height. Use a level to draw a horizontal line where the shelf bracket will sit.
- Drill pilot holes. Use a 1/8-inch bit for #8 wood screws or a 3/16-inch bit for 1/4-inch lag screws. Drill through the drywall and into the stud.
- Drive the screws. For a heavy shelf, I use 3-inch #10 wood screws or 1/4" x 3" lag screws with washers. Two screws per stud, into at least two studs.
- Test before loading. Pull down firmly on the bracket. It shouldn't budge. Then load your shelf gradually.
Option 2: Anchors for When You Can't Hit Studs
Sometimes the studs aren't where you need them. That's when anchors come in — but not all anchors are created equal.
Anchor Weight Ratings in 1/2-Inch Drywall
These are realistic working loads, not the inflated numbers on the package. The package number is usually the absolute failure point; I divide by at least 4 for a real-world safe working load.
| Anchor type | Rated max (package) | Safe working load | Best use |
|---|---|---|---|
| Plastic expansion anchor | 25–30 lbs | 5–8 lbs | Picture frames, light decor |
| Self-drilling threaded anchor | 50 lbs | 10–15 lbs | Curtain rods, towel bars |
| Molly bolt (hollow-wall anchor) | 50–75 lbs | 15–25 lbs | Medium shelves, mirrors |
| Toggle bolt (1/4") | 100+ lbs | 25–50 lbs | Heavy shelves, no stud access |
| SnapToggle / Toggler anchor | 150+ lbs | 40–80 lbs | Heavy shelves, TV mounts |
| Through-bolt to blocking | 200+ lbs | 100+ lbs | Maximum strength option |
The rule I follow: for a heavy shelf (30+ pounds loaded), use toggle bolts or SnapToggles at minimum, and prefer studs whenever possible.
How to Install a Toggle Bolt
- Drill the hole. A 1/4-inch toggle bolt needs a 1/2-inch hole. Drill straight through the drywall only — don't drill into anything behind the wall.
- Fold the wings. Squeeze the spring-loaded wings flat and push them through the hole. You'll feel them snap open behind the wall. Pull back gently on the bolt to seat the wings against the back of the drywall.
- Thread the bolt through your bracket. Slide the bolt through the bracket hole while holding the wings seated.
- Tighten carefully. The wings pull tight against the back of the drywall, spreading the load across a wide area. Tighten firmly but don't over-torque — you can crush the drywall.
How to Install a SnapToggle (My Preferred Anchor)
- Drill a 1/2-inch hole. Same as a toggle bolt.
- Fold and insert the metal channel. The metal bar goes through the hole and flips flat against the back of the wall.
- Pull the straps and slide the cap. Pull the plastic straps toward you until the channel is snug against the back of the drywall, then slide the cap in to lock it.
- Snap off the straps. Break the straps off flush with the wall.
- Drive the bolt. The bolt threads into the channel. Unlike a standard toggle bolt, you can remove and reinstall the bolt later without losing the anchor behind the wall — that's the huge advantage.
How Much Weight Are We Talking About?
People badly underestimate shelf loads. Let me put some numbers on it:
- A 36" x 12" shelf loaded with paperback books: 45–60 lbs
- A 48" x 12" shelf of hardcover books: 80–100 lbs
- Kitchen shelf with dishes and small appliances: 40–70 lbs
- Garage shelf with paint cans and tools: 60–100 lbs
- Shelf + bracket hardware itself: 5–10 lbs
A good habit: weigh the stuff going on the shelf with a bathroom scale before you hang it. Then choose hardware rated for at least 4x the actual load. That 4x margin covers the dynamic loads — kids yanking things off shelves, earthquakes, the shelf getting bumped — that package ratings ignore.
The Layout: Planning Your Bracket Spacing
Bracket placement matters as much as hardware choice. A shelf supported at only two points near the ends will sag in the middle under load.
| Shelf length | Minimum brackets | Bracket spacing rule |
|---|---|---|
| Up to 24" | 2 | Within 4" of each end |
| 24–36" | 2 | Within 4" of each end |
| 36–48" | 3 | Ends + one in the middle |
| 48–72" | 3–4 | No more than 32" apart |
| Over 72" | 4+ | No more than 32" apart |
If you can align brackets with studs at 16-inch intervals, do it. For a 48-inch shelf, brackets at 0", 24", and 48" (studs at every 16") won't all hit studs — but brackets at 16" and 32" will. Plan your shelf layout around the studs, not the other way around.
A Real Case Study: My Garage Tool Shelf
Two years ago I hung a 6-foot shelf in my garage for paint cans, toolboxes, and supplies. Here's exactly what I did:
The load: I weighed everything — 78 pounds of gear, plus an 8-pound shelf and bracket set. Call it 86 pounds total.
The plan: Studs were on 16-inch centers. I used four 12-inch heavy-duty brackets, each bolted into a stud with two 1/4" x 3" lag screws and washers. Four brackets x 2 lag screws = 8 screws into 4 studs.
The margin: 8 lag screws at ~75 lbs shear each = 600 lbs of theoretical capacity for an 86-pound load. That's a 7x safety margin. Probably overkill, but the shelf also holds a 20-pound toolbox I bought later, and I've never thought about it since. That's the whole point — hang it once, hang it right.
Cost: Four brackets ($28), lag screws and washers ($6), and an hour of my time including stud-finding.
Common Mistakes
- Trusting plastic drywall anchors for heavy loads. They are fine for a 5-pound picture. They are not fine for a 50-pound shelf. Full stop.
- Not checking what's behind the wall. Before drilling, know whether there's plumbing, electrical, or HVAC in that wall. I once nearly drilled into a PEX water line because I assumed a wall was empty. Scan with a stud finder that has wire/metal detection, or look at what's above and below (a bathroom above means plumbing below).
- Underestimating the load. Books, dishes, and tools are far heavier than they feel. Weigh your stuff or overestimate by a wide margin.
- Hanging brackets that aren't level. A shelf that's off by even 1/4 inch over 4 feet is visibly crooked, and everything slides to one end. Use a 4-foot level, not a 9-inch torpedo level, for shelf work.
- Overtightening toggle bolts. Cranking down on a toggle bolt can crack the drywall around the hole, destroying the very strength you're counting on. Snug is enough.
- Putting all brackets near the ends on long shelves. Long shelves need middle support. Without it, the shelf sags and the load concentrates on the end brackets.
FAQ
Can I hang a heavy shelf on drywall without finding studs? Yes, using high-quality toggle-style anchors like SnapToggles, which safely hold 40–80 lbs each in 1/2-inch drywall. Use at least 2–4 of them depending on the load, and keep a 4x safety margin. But studs are always stronger — choose them when you can.
How many pounds can a stud hold? A single screw driven 1.5 inches into a wood stud holds roughly 75–100 pounds in shear. A shelf bracket with two screws into a stud can safely support 100+ pounds. Two brackets into two studs will hold almost any household shelf.
Are studs always 16 inches apart? In most US homes, interior wall studs are spaced 16 inches on center. Some newer homes or non-load-bearing walls use 24-inch spacing. Always verify with a stud finder rather than assuming.
What's the strongest drywall anchor? SnapToggle-style anchors (rated 150+ lbs in testing) are the strongest widely available drywall-only anchors. True toggle bolts are close behind. Neither beats a screw into a stud, which is why stud mounting is the gold standard.
My shelf is pulling out of the wall — what do I do? Unload it immediately. The anchors are failing. Remove the shelf, patch the damaged drywall, and reinstall using either stud mounting or larger toggle-style anchors in undamaged sections of wall. Don't just put bigger anchors in the same torn holes.
About the Author
Dave Collins is a hands-on DIY enthusiast who has spent the past 15 years renovating three of his own homes. He learned most of what he knows by making mistakes first, then asking pros what he did wrong. On this site he writes practical, numbers-first guides so you can skip the mistakes and get it right the first time.