
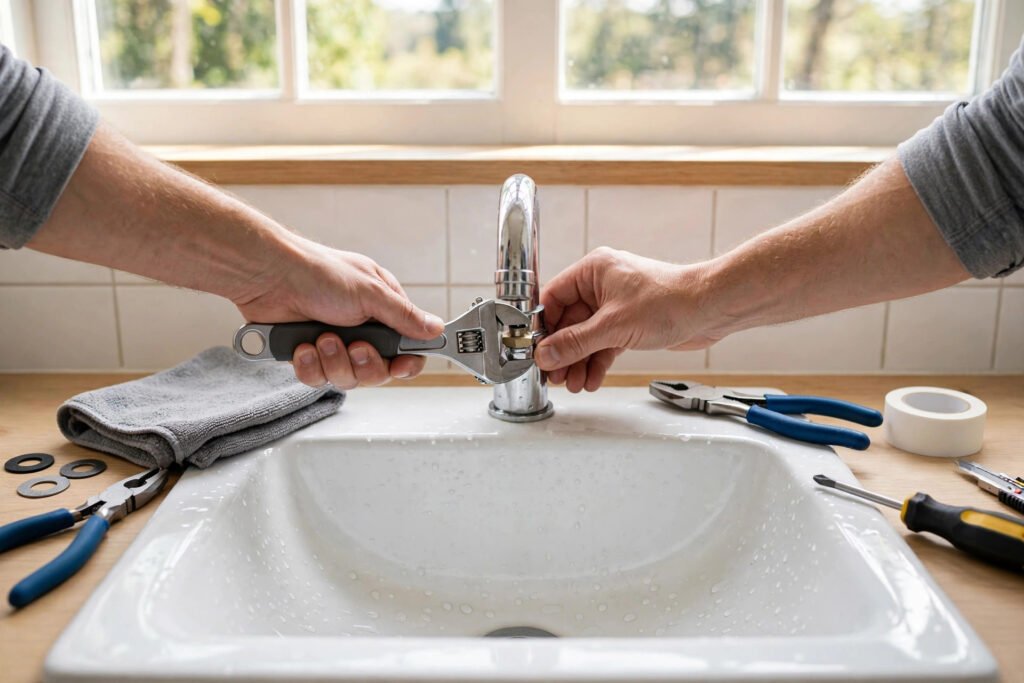
A faucet dripping once per second wastes over 3,000 gallons of water a year. That's not a typo. I measured it once with a bucket under a guest bathroom faucet overnight — a slow, steady drip filled a gallon jug in about five hours. On a metered water bill, that drip was costing me real money every month, and the plink-plink-plink at 2 a.m. was costing me sleep.
The good news: a dripping faucet is one of the easiest plumbing repairs in your house. The fix is almost always a worn-out washer, O-ring, or cartridge — a part that costs $3 to $15. Here's how to do it for all four faucet types.
First: Identify Your Faucet Type
The repair steps depend on which of the four common faucet designs you have. Here's how to tell:
| Faucet type | How to identify it | Most common leak cause |
|---|---|---|
| Compression | Two separate handles (hot and cold); you tighten them to shut off | Worn rubber washer on the valve stem |
| Cartridge | Single handle; lifts up and swivels side to side | Worn cartridge or O-rings |
| Ball | Single handle on a rounded dome-shaped cap (common in older Delta/Kohler kitchens) | Worn springs, rubber seats, or the ball itself |
| Ceramic disc | Single lever over a wide cylindrical body; handle moves smoothly with little resistance | Cracked/scratched ceramic discs or worn seals |
If you're not sure, take a photo and show it to the plumbing aisle associate — or just shut off the water, pull the handle, and look at what's inside. The inside doesn't lie.
Tools and Parts
For most faucet repairs you need:
- Adjustable wrench and/or basin wrench
- Phillips and flathead screwdrivers
- Allen wrench set (many handles hide a set screw)
- Plumber's grease (silicone-based, $4 — makes reassembly smooth and protects O-rings)
- Replacement parts: washer/O-ring/cartridge kit specific to your faucet
- Towels and a small bucket
- Your phone — take a photo at every disassembly step
The replacement parts are the critical piece. Faucet internals are brand- and model-specific. The best move: disassemble first, take the worn part to the hardware store, and match it exactly. Many stores have a wall of faucet repair kits organized by brand. If you know your faucet's brand and model, you can also buy the manufacturer's repair kit online — usually $8–20 and guaranteed to fit.
Step 1: Shut Off the Water
Find the shutoff valves under the sink — there should be one for hot and one for cold. Turn both clockwise until they stop.
Then open the faucet to release pressure and drain the remaining water in the line. Keep a towel in the sink basin; there will be some dribble.
If the under-sink valves are frozen or missing (common in older houses — mine were painted shut in house #1), shut off the main water supply to the house instead. Know where your main shutoff is before you start. Mine is in the garage next to the water heater; yours might be in a basement, crawlspace, or utility closet.
Plug the drain. Drop the stopper in or stuff a rag in the drain opening. Small screws love to dive down drains, and fishing them out of a P-trap is nobody's idea of fun.
Step 2: Remove the Handle
- Look for a small cap on top of the handle (often marked H/C or with the brand logo). Pry it off gently with a flathead screwdriver.
- Underneath you'll find a screw — remove it.
- Lift the handle off. If it's stuck (corrosion is common), wiggle firmly — don't yank. A handle puller ($10) beats breaking the handle.
Some single-handle faucets hide an Allen set screw on the side or back of the handle instead. Feel around with your fingertip before forcing anything.
Step 3: Remove the Trim and Expose the Valve
Unscrew the dome cap or escutcheon (the decorative cover). Underneath you'll see the valve assembly held in by a packing nut or retaining nut. Take your photo here — you'll want a reference for reassembly.
Step 4: Repair by Faucet Type
Compression faucet (two handles)
- Loosen the packing nut with an adjustable wrench and pull out the valve stem.
- At the bottom of the stem you'll see a small rubber washer held by a brass screw. This washer is your drip culprit 90% of the time — it hardens, cracks, or gets a groove worn in it.
- Remove the screw, swap in an identical new washer (match the size exactly — washers come in 1/4", 3/8", 1/2" and flat vs. beveled).
- Check the valve seat inside the faucet body — the brass ring the washer presses against. Run your finger over it. If it feels rough or pitted, smooth it with a valve seat dresser ($8 tool) or replace the seat with a seat wrench. A new washer on a chewed-up seat will start dripping again in weeks.
- Wrap the stem threads with a dab of plumber's grease, reassemble, and tighten the packing nut snug — not gorilla-tight.
Cartridge faucet (single handle)
- Remove the retaining clip or nut holding the cartridge.
- Pull the cartridge straight up. Note its orientation — there's usually a tab or notch that only fits one way. (This is where your photo pays off.)
- Take it to the store and match it exactly. Cartridges look similar but aren't interchangeable.
- Before installing the new one, check the O-rings on the cartridge and the inside of the faucet body for grit or mineral buildup. Clean with white vinegar on a rag.
- Lightly grease the new O-rings, slide the cartridge in with the correct orientation, and reassemble.
Ball faucet (single handle, dome cap)
- Unscrew the dome cap (you may need channel-lock pliers with a rag to protect the finish).
- Lift out the ball, then the cam, then the rubber seats and springs underneath.
- Replace the seats and springs as a set — buy the repair kit for your brand ($5–12). This fixes most ball faucet drips.
- If the ball itself is scratched or the chrome is worn, replace the ball too.
- Reassemble in reverse order. The kit instructions have a diagram — follow it, because spring orientation matters.
Ceramic disc faucet (single lever, cylindrical body)
- Remove the handle and the escutcheon cap to expose the cylinder.
- Unscrew the two (sometimes three) screws holding the disc cylinder and lift it out.
- Inspect the ceramic discs — they should be perfectly smooth. If one is cracked or scratched, the whole cylinder gets replaced (usually $15–30 for the part).
- Replace the rubber seals at the bottom of the cylinder while you're in there.
- Clean any mineral deposits from the faucet body with vinegar before reinstalling.
Step 5: Reassemble and Test
- Reassemble everything in reverse order, using your photos as a guide.
- Turn the water supply back on slowly. Opening a valve full-blast can hammer sediment into your fresh repair.
- Open the faucet and let it run for 30 seconds to flush any debris.
- Close the faucet and watch. Give it a full two minutes — some drips take a while to show up.
- Check under the sink for leaks at the supply connections while you're at it.
Mini Case Study: The $4 Washer That "Needed a Plumber"
My neighbor called me over because her kitchen faucet — an old two-handle compression type — was dripping and she'd gotten a plumber quote of $185 for the visit. I shut off the valves, pulled the cold stem, and found a washer with a visible groove worn into it. The hardware store had a 10-pack of assorted washers for $4. Total repair time: 22 minutes, including the drive to the store. She made me take a $20 bill anyway.
The lesson: plumbers are worth every penny for real problems, but a dripping compression faucet is a washer swap. If you can change a lightbulb, you can do this — the only special skill is remembering the order things came off, which is what the phone photos are for.
Repair vs. Replace: When to Give Up on the Faucet
Sometimes the faucet itself is done. Replace the whole faucet ($50–150 for a decent one) instead of repairing when:
| Replace it if… | Repair it if… |
|---|---|
| The faucet body is corroded or pitted through the finish | The finish is fine and it's just dripping |
| Replacement parts are discontinued (common with 25+ year old off-brands) | Parts are available for your brand |
| The valve seat is too damaged to dress smooth | The seat is smooth or just needs dressing |
| You've repaired the same faucet twice in a year | This is the first or second repair |
| Water leaks from the faucet body itself (crack) | The drip comes from the spout |
A new mid-range faucet plus an hour of installation beats a third repair on a faucet that's lived its life.
Common Mistakes
1. Not shutting off the water properly. "I'll just be quick" is how kitchens get flooded. Shut it off, open the faucet to confirm it's dead, then start.
2. Forgetting to plug the drain. The screw that holds the washer is exactly drain-sized. Every plumber has a story; don't become one.
3. Buying parts before disassembling. Faucet parts are not universal. Disassemble first, bring the old part to the store, match it exactly.
4. Overtightening everything. The packing nut, the handle screw, the supply connections — snug is enough. Overtightening cracks ceramic discs, strips threads, and crushes washers into early failure.
5. Skipping the valve seat check. On compression faucets, a rough seat destroys a new washer in weeks. Run your finger over it every time.
6. Forgetting the orientation photo. Cartridges and ball assemblies only fit one way. Without a photo, reassembly becomes a 20-minute puzzle.
7. Reusing old O-rings "because they look fine." O-rings are $2. If you have the faucet apart, replace them. "Looks fine" is how you do the job twice.
FAQ
Why does my faucet drip after I turned it off? The shutoff mechanism isn't sealing — almost always a worn washer (compression), cartridge (single-handle), or seats and springs (ball type). The water pressure pushes past the worn seal and out the spout. Replacing the worn part fixes it.
How much does it cost to fix a leaky faucet? DIY: $3–20 in parts (a washer pack is under $5; a brand-name cartridge kit is $10–20). A plumber will charge $150–250 for the same visit. The repair itself takes 20–45 minutes once you've done it once.
Can a dripping faucet really waste that much water? Yes. One drip per second wastes roughly 3,000 gallons per year — that's over 8 gallons a day from a drip you barely notice. Faster drips waste proportionally more. On a metered bill, that can be $50–100+ a year, literally down the drain.
Do I need to shut off the main water to fix a faucet? Usually not — the shutoff valves under the sink are enough. But if those valves are stuck, broken, or missing, use the main house shutoff. Never start disassembling a faucet with the water still live "to save time."
Why is my faucet still dripping after I replaced the washer? Three likely causes: the valve seat is pitted or rough (dress or replace it), you installed the wrong size washer, or the drip is actually coming from a different failure point like a cracked O-ring or a worn cartridge. Pull it apart again and inspect each piece.
About the Author
Dave Collins is a hands-on DIY enthusiast who has spent the past 15 years renovating three of his own homes. He learned most of what he knows by making mistakes first, then asking pros what he did wrong. On this site he writes practical, numbers-first guides so you can skip the mistakes and get it right the first time.