
# How to Paint a Room Like a Pro (Step-by-Step)
The first room I ever painted looked like a crime scene — lap marks everywhere, paint on the ceiling, tape that peeled chunks of old paint off with it. That was my guest bedroom in 2011. Fifteen years and three houses later, I can knock out a 12×15 bedroom in a Saturday with edges sharp enough that my contractor neighbor asked who I'd hired.
The difference isn't talent. Pros don't have a secret wrist movement. They prep properly, work in the right order, and use a roller technique that takes five minutes to learn. This guide is everything I wish someone had shown me before that first disaster — the full process, in order, with the numbers that matter.
What You'll Need
A cheap brush sheds bristles into your paint and leaves streaks no amount of coats will hide. Here's the kit I use on every room:
| Tool | What to Buy | Typical Cost | Why It Matters |
|---|---|---|---|
| Angled sash brush | 2.5-inch, quality bristles (Purdy or Wooster) | $12–$18 | Clean lines around trim and ceilings |
| Roller frame + covers | 9-inch frame, 3/8-inch nap covers (pack of 3) | $15–$20 | The sweet spot for smooth walls |
| Paint tray with liners | Metal tray + disposable liners | $8–$12 | 30-second cleanup |
| Painter's tape | 1.5-inch, good brand | $8–$10 | Cheap tape bleeds and peels badly |
| Drop cloths | Canvas or heavy plastic, 2 pack | $20–$30 | Canvas stays put; plastic shifts |
| Extension pole | 2–4 ft adjustable | $15–$20 | Saves your back |
| Sanding supplies | 120-grit sponge + 220-grit paper | $8 | Smooths patches and rough spots |
| Patching supplies | Lightweight spackle + 6-inch putty knife | $10–$12 | Fills nail holes and dents |
Total: roughly $95–$140 if you're starting from nothing. Most of this is reusable across every room you'll ever paint.
Step 1: Prep the Room (The Step Everyone Skips)
I'll be blunt: prep is 60% of a pro paint job. The actual rolling is the easy part. My first guest bedroom went wrong almost entirely in this step — I painted around the furniture instead of moving it, and there's still a faint blue outline on the floor where a chair leg was.
Clear the room completely if you can. Move everything out. If something can't move, drag it to the center and cover it. I paint with one small table in the middle holding supplies; everything else goes.
Remove the hardware. Take outlet covers, switch plates, vent covers, and door handles off. Ten minutes of work beats painting around them. Keep screws in a labeled baggie.
Clean the walls. Walls collect dust and grease, especially near kitchens and doors — paint won't bond to greasy spots. Wipe them down with a damp cloth and a little dish soap.
Patch and sand. Fill every nail hole, dent, and crack with spackle using a putty knife. Let it dry (lightweight spackle dries in about 30 minutes), then sand it smooth with 120-grit. Run your hand over it — if you can feel the patch, you'll see it after paint. Then wipe the dust off with a damp cloth.
Step 2: Tape and Cover
Lay drop cloths with zero gaps along the baseboards. Overlap them where they meet — paint finds gaps.
Run painter's tape along the ceiling line, baseboards, and window and door frames. The trick to clean lines: press the tape edge down firmly with a putty knife or credit card. Most bleed-through happens because the tape edge is barely touching.
One honest warning: tape is not magic. On textured walls, paint can still creep under the edge — which is why cutting in (step 4) matters more than tape.
Step 3: Prime Where It Counts
You don't need to prime every wall. You need primer where the wall has changed: fresh spackle patches, bare drywall, water stains, or anywhere you're covering a dark color with a light one.
On my third house, I tried to cover a deep red dining room with a light gray — two coats of paint and the red ghosted straight through. A $25 gallon of tinted primer would have fixed it. Primer is cheaper than paint, so it always saves money when coverage is in doubt.
Rule of thumb: if more than 20% of the wall is patched, stained, or a dramatically different color, prime the whole wall. Otherwise, just spot-prime the patches.
Step 4: Cut In the Edges
Cutting in means painting the edges the roller can't reach — corners, ceiling line, trim, windows, doors. Do it before rolling, with a brush, one wall at a time:
- Load your angled brush about a third of the way up the bristles — not a giant glob.
- Start about 2 inches away from the edge and brush toward it, using the angled tip to guide the paint right up to the line.
- Work in 3-foot sections, feathering the paint back into the field so the roller can blend into it.
- Don't try for a perfect line in one stroke. Two light passes beat one heavy one.
The biggest mistake beginners make is cutting in the whole room first and letting it dry before rolling. Cut in one wall, then roll that wall while the cut-in is still wet — this keeps a "wet edge" and prevents the cut-in from showing as a darker border. Pros call it "boxing" the wall.
Step 5: Roll the Walls (The W Technique)
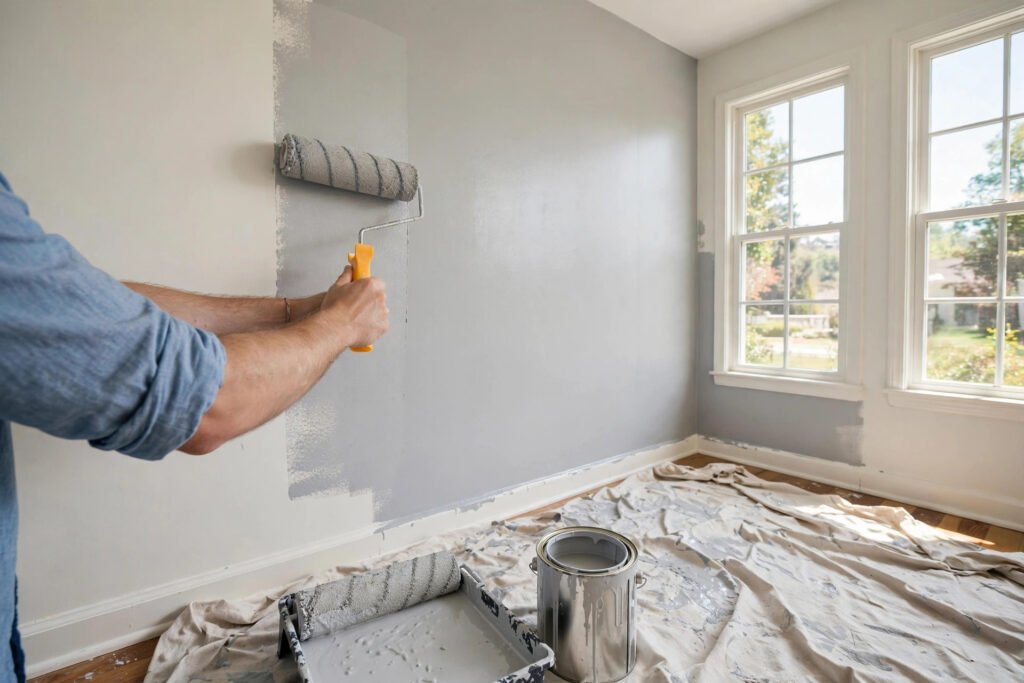
This is where people waste paint and time. Loading the roller wrong is the #1 reason for roller marks and drips.
Loading the roller:
- Pour paint into the tray to about half depth.
- Roll the cover into the paint, then roll it up and down the ribbed part of the tray 4–5 times. You want the cover evenly saturated, not dripping.
- If paint is dripping off the roller, it's overloaded. Roll it out on the tray until the drips stop.
The technique:
- Start in a top corner of the wall. Roll a big "W" or "M" shape about 3 feet wide, top to bottom.
- Without lifting the roller, fill in the W with horizontal and vertical passes, spreading the paint evenly.
- Work top to bottom, in 3-foot-wide columns, overlapping each column by about 2 inches.
- Always finish with a final light pass in one direction (top to bottom) — this "lays off" the paint and kills roller lines.
Keep a wet edge: never let the edge of a painted section dry before you overlap into it. On a standard 8-foot wall, a full 3-foot column takes about 90 seconds — easily fast enough.
My real-world example: My master bedroom is 12×15 feet with 8-foot ceilings — about 432 square feet of wall (perimeter × height), minus roughly 60 sq ft for the door and two windows. At 350 sq ft per gallon, that's 1.06 gallons per coat. I cut in all four walls (45 minutes), rolled coat one (about an hour), let it dry 4 hours, and did coat two the same way. Total paint: 2.5 gallons for two coats. Total time: about 6 hours across a Saturday.
Step 6: The Second Coat
Let the first coat dry fully — check the can, but most latex paints need 4 hours between coats. Painting over tacky paint pulls it off and leaves a mess.
The second coat is faster because the wall is sealed and the roller glides. Use slightly less paint per load — this coat gives you the rich, even color. One coat almost always looks patchy once dry, no matter what the can promises.
Step 7: Remove Tape and Clean Up
Pull the painter's tape while the last coat is still tacky — within an hour or two of finishing. Pull slowly at a 45-degree angle back on itself. Wait until the paint fully cures and the tape can pull paint off with it.
Put outlet covers and hardware back on after 24 hours. The paint is dry to the touch in an hour, but it takes about 30 days to fully cure and harden. Be gentle with the walls for the first couple of weeks.
Choosing Your Paint: What Actually Matters
The paint aisle is overwhelming. Strip it down to three decisions:
| Decision | Best Choice for Most Rooms | When to Choose Differently |
|---|---|---|
| Finish | Eggshell | Flat for ceilings; satin/semi-gloss for kitchens, baths, and trim |
| Quality tier | Mid-grade ($35–$45/gal) | Cheap paint ($20/gal) needs extra coats and costs more in time; top-tier is worth it for dark-to-light changes |
| Primer combo | Paint+primer in one for repainting same color | Separate primer for stains, dark colors, or new drywall |
Eggshell is the workhorse finish — it hides imperfections like flat paint but wipes clean like satin. I use it in every bedroom and living room. Bathrooms and kitchens get satin for the moisture and splashes.
Common Mistakes
Skipping wall cleaning. Paint over dust or kitchen grease and it won't bond. Wipe the walls down first — every time.
Overloading the roller. More paint on the roller does not mean faster coverage. It means drips, splatter, and thick spots that flash differently when dry.
Cutting in too far ahead of rolling. If the cut-in dries before you roll up to it, you'll see a visible border around every wall. Cut in one wall, roll that wall.
Using cheap brushes and covers. A $3 brush sheds bristles into your paint; a $5 cover leaves lint. The tools are reusable; the paint job is semi-permanent. Spend the $15.
Painting over a tacky first coat. Wait the full recoat time on the can. Rushing coat two pulls coat one off the wall.
Removing tape too late. Tape left on for days bonds to the paint. Pull it the same day, while the last coat is still tacky.
FAQ
How long does it take to paint a room? For a standard 12×15 bedroom, plan 6–8 hours: 2–3 hours of prep and taping, 1–1.5 hours per coat, and 4 hours of dry time between coats. I do prep and coat one in the morning, coat two after lunch.
Should I paint the ceiling first or the walls? Ceiling first, always — paint drips down, not up. Then cut in the walls against the dry ceiling line, roll the walls, and do trim last.
Do I really need two coats of paint? Almost always yes. One coat covers, but two coats even out the color and give you the durability the paint is rated for. The exception is repainting the exact same color over a wall in good shape.
What's the best roller nap for smooth walls? 3/8-inch — the standard for smooth to lightly textured walls. Use 1/2-inch for moderate texture. Thicker naps hold more paint but leave more stipple, so match the nap to the wall.
Can I paint over old paint without sanding? If the old paint is sound — no peeling, no gloss — a light scuff-sand with 120-grit and a wipe-down is enough. Glossy oil-based paint needs thorough sanding or a bonding primer, or the new paint will peel within a year.
About the Author
Dave Collins is a hands-on DIY enthusiast who has spent the past 15 years renovating three of his own homes. He learned most of what he knows by making mistakes first, then asking pros what he did wrong. On this site he writes practical, numbers-first guides so you can skip the mistakes and get it right the first time.